
Use this guide to authorize or reject service requests in iBusiness using the Checker (Authorizer) role.
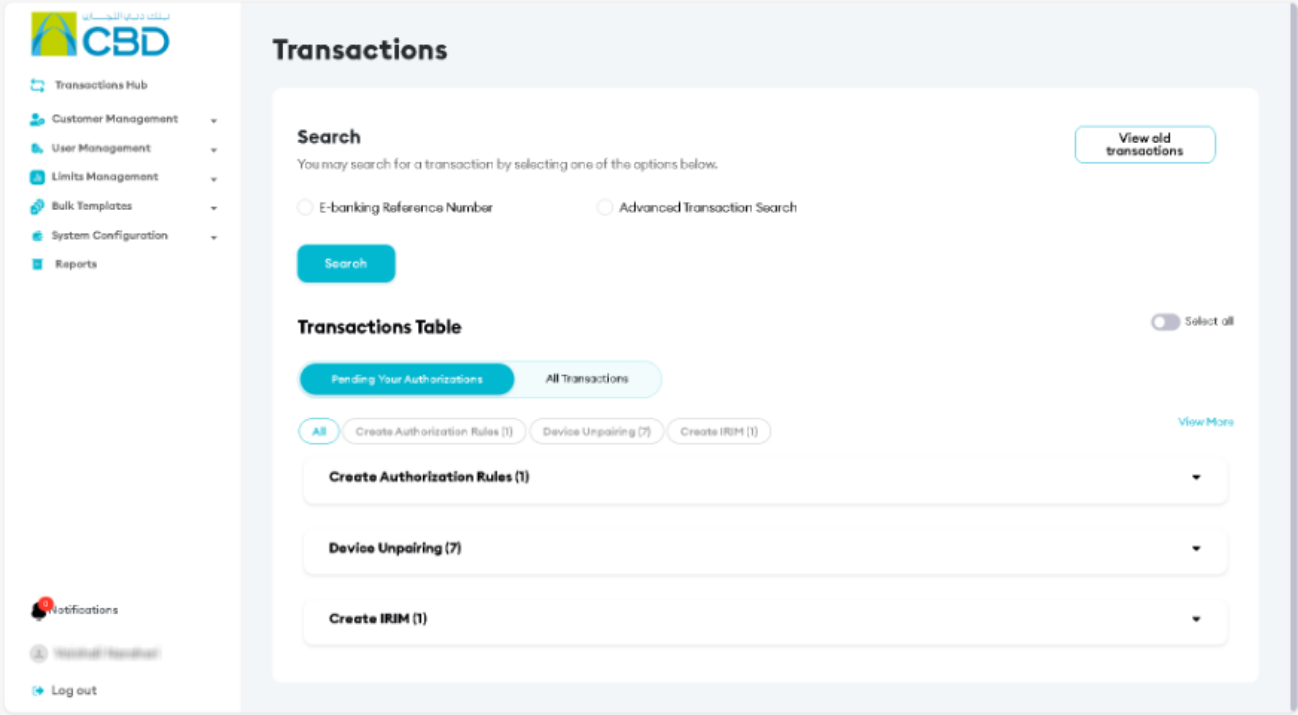
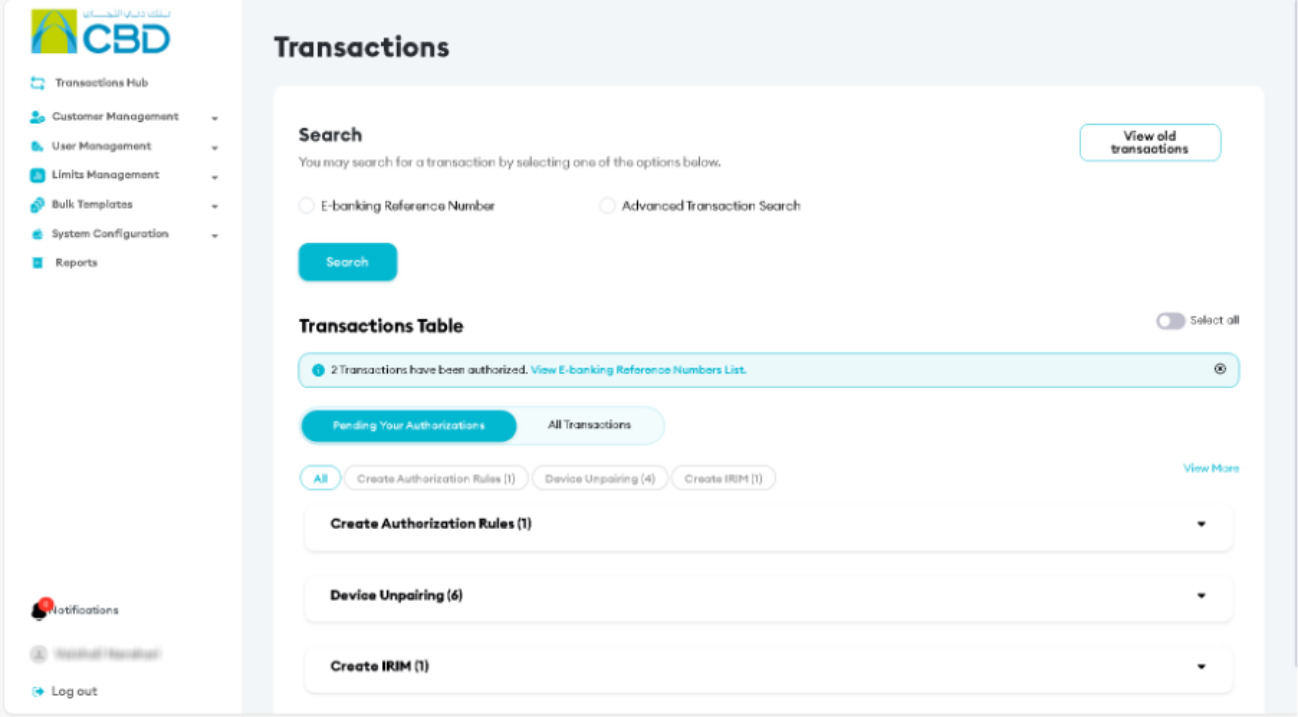
Step 1: Access Pending Requests
- Log in to iBusiness as a Checker (Authorizer)
- Navigate to pending requests
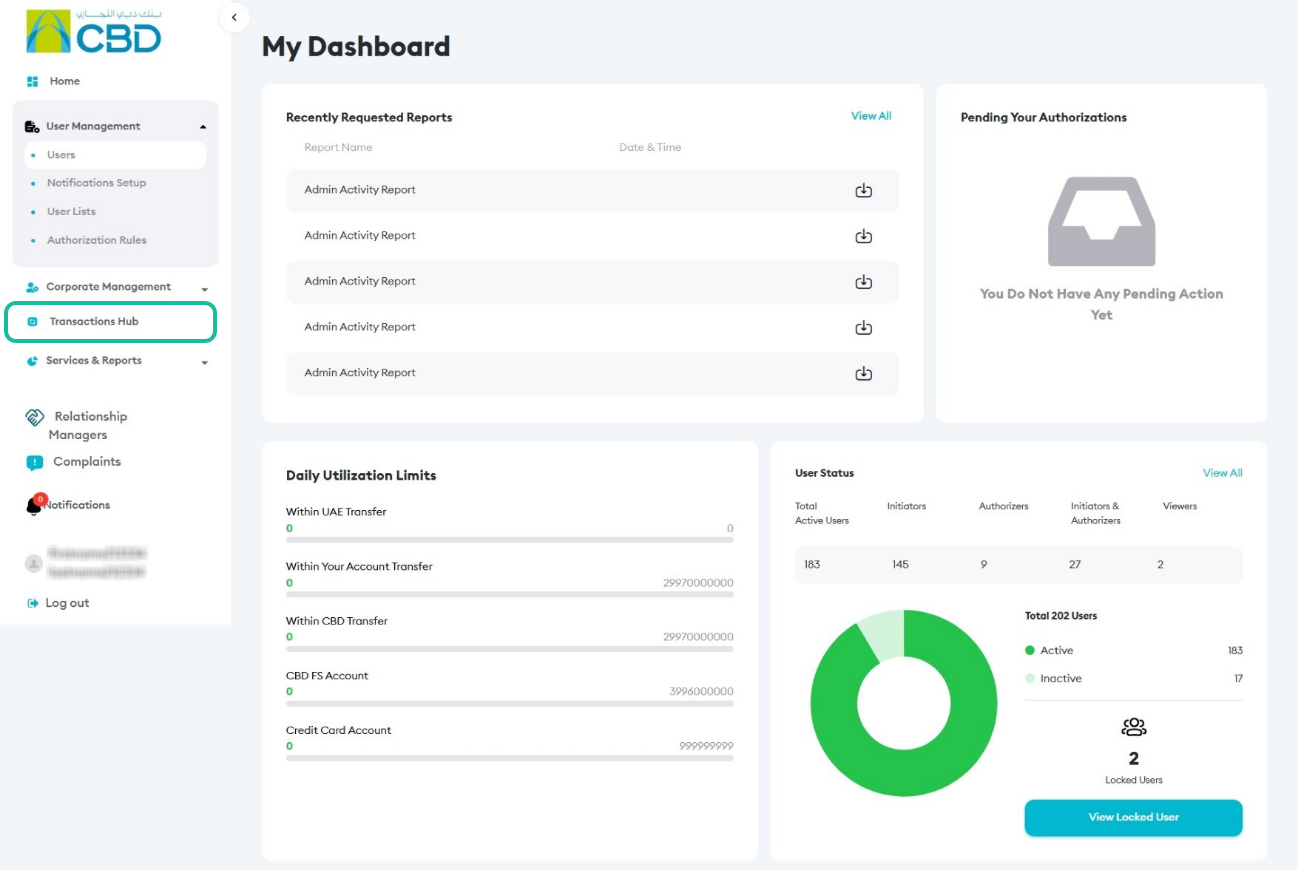
- Go to: Transactions hub ➜ Pending Your Authorizations
Step 2.1: Authorize Requests
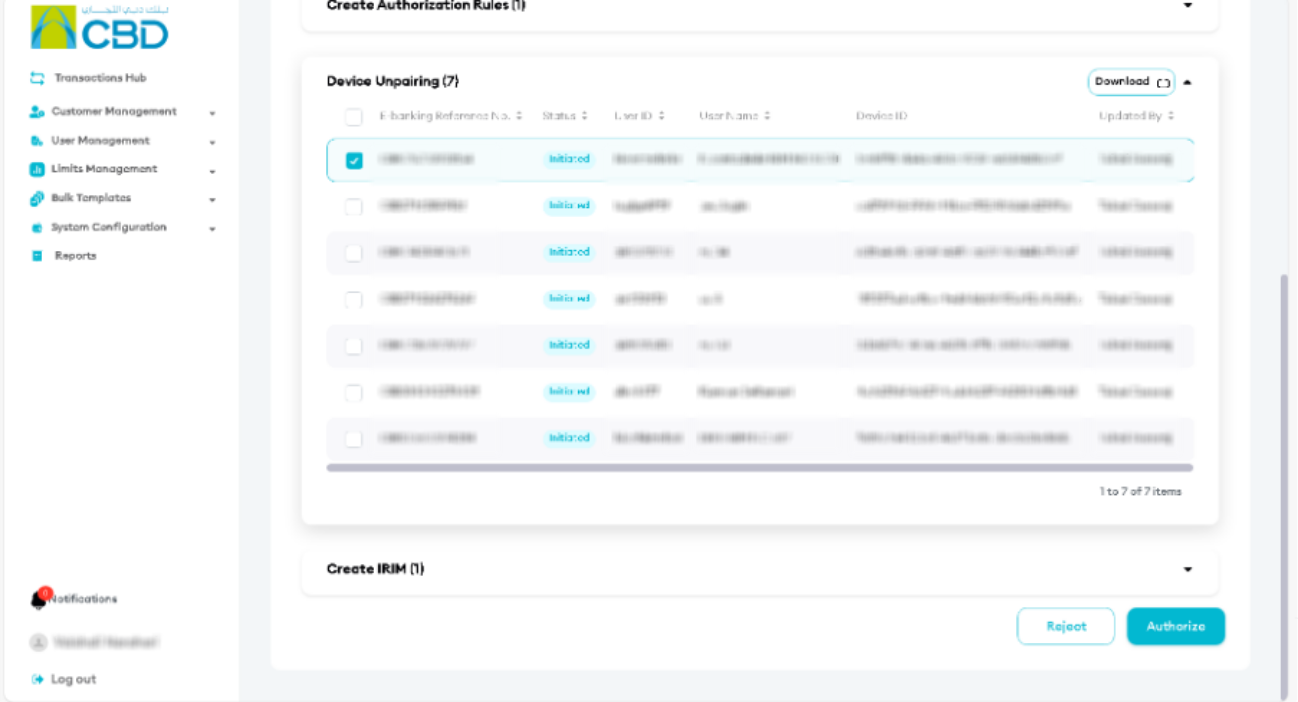
Authorize a Single Request
- Select the required request
- Review the request details
- Click Authorize
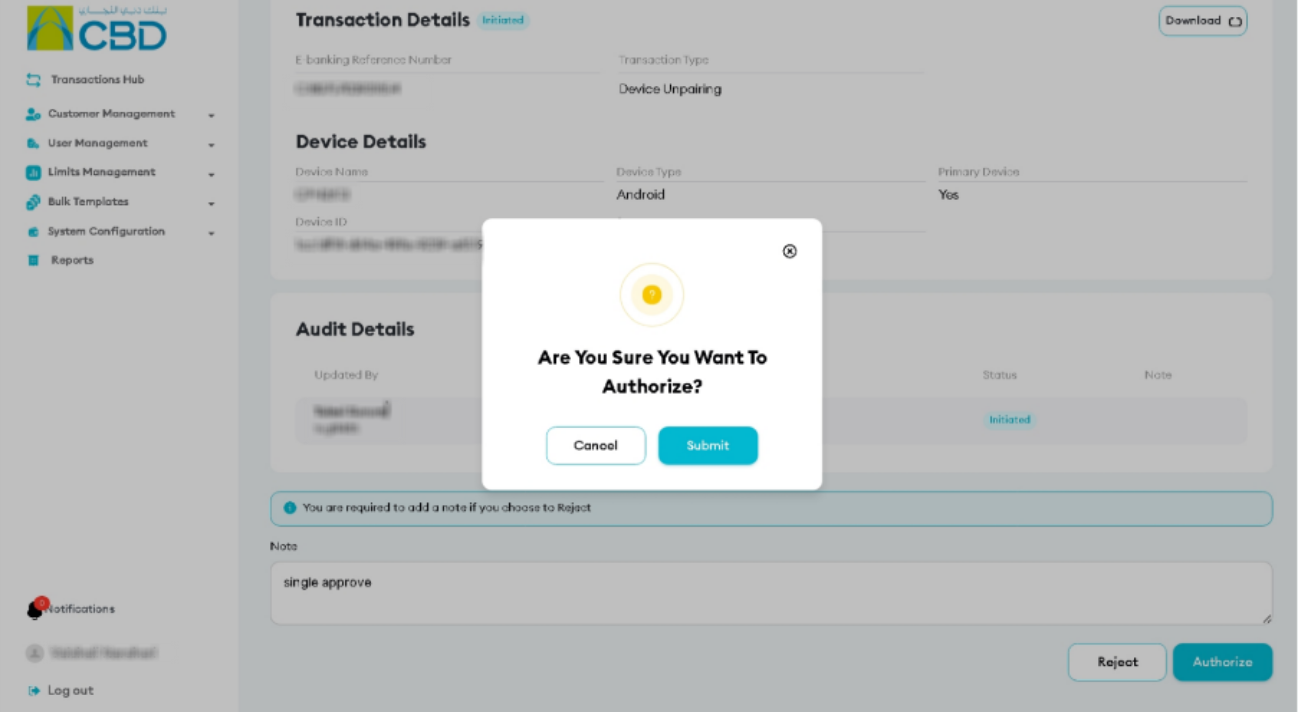
Transaction Review
- Review the details
- Enter a note explaining the reason for approval
- Click Authorize to continue
- Click Submit on confirmation popup
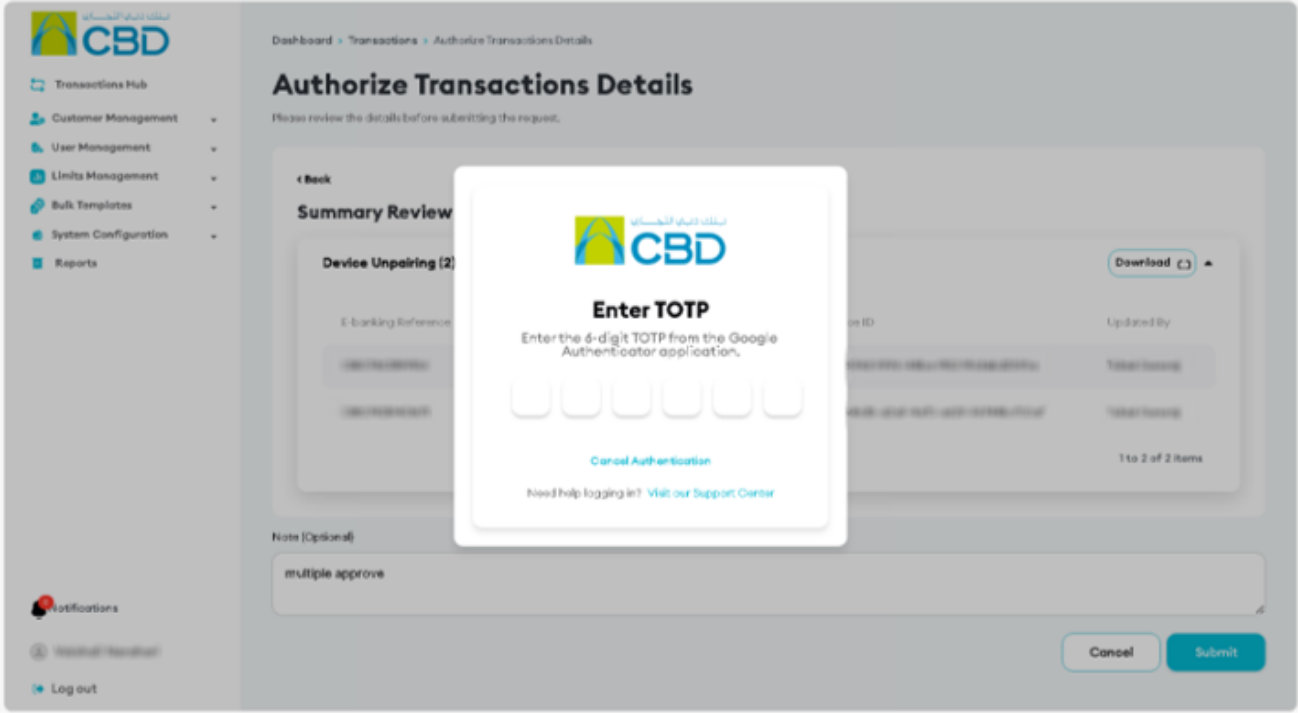
Authenticate the request
Authenticate the request using one of the following methods:
- iBusiness Mobile App (biometric approval) using Face ID or fingerprint
- Google Authenticator by entering the OTP code

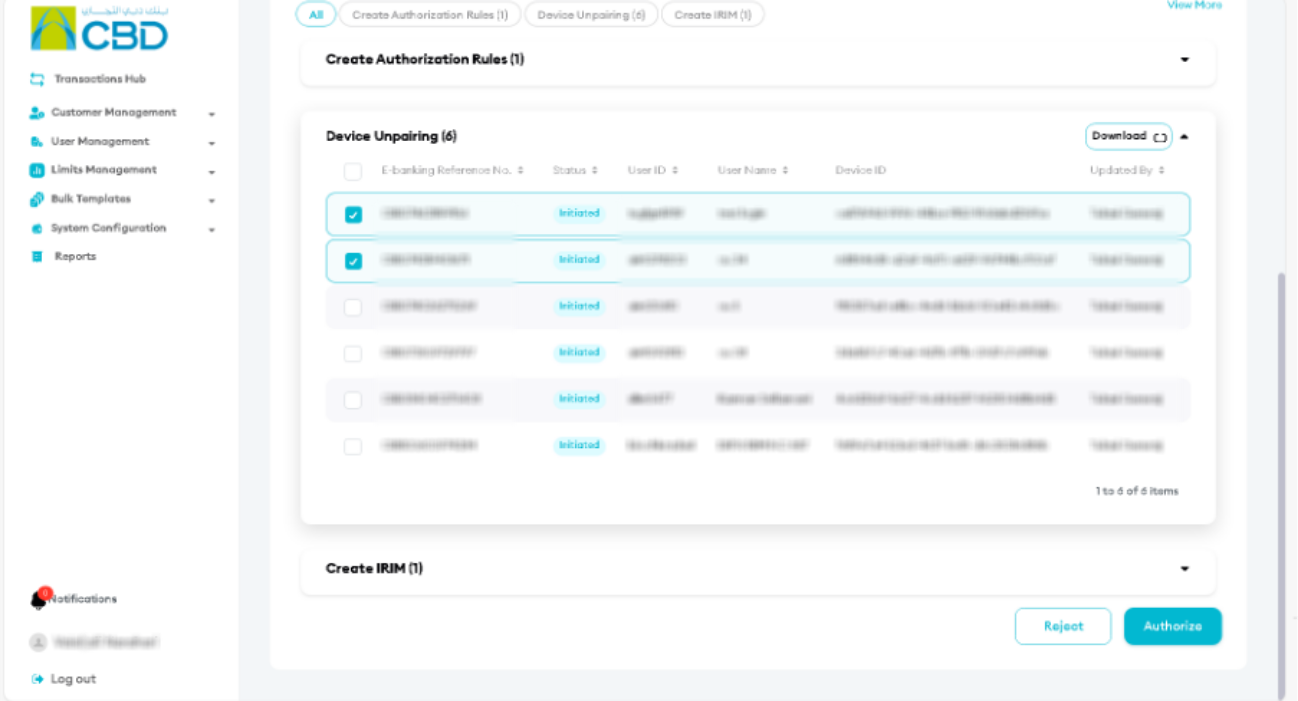
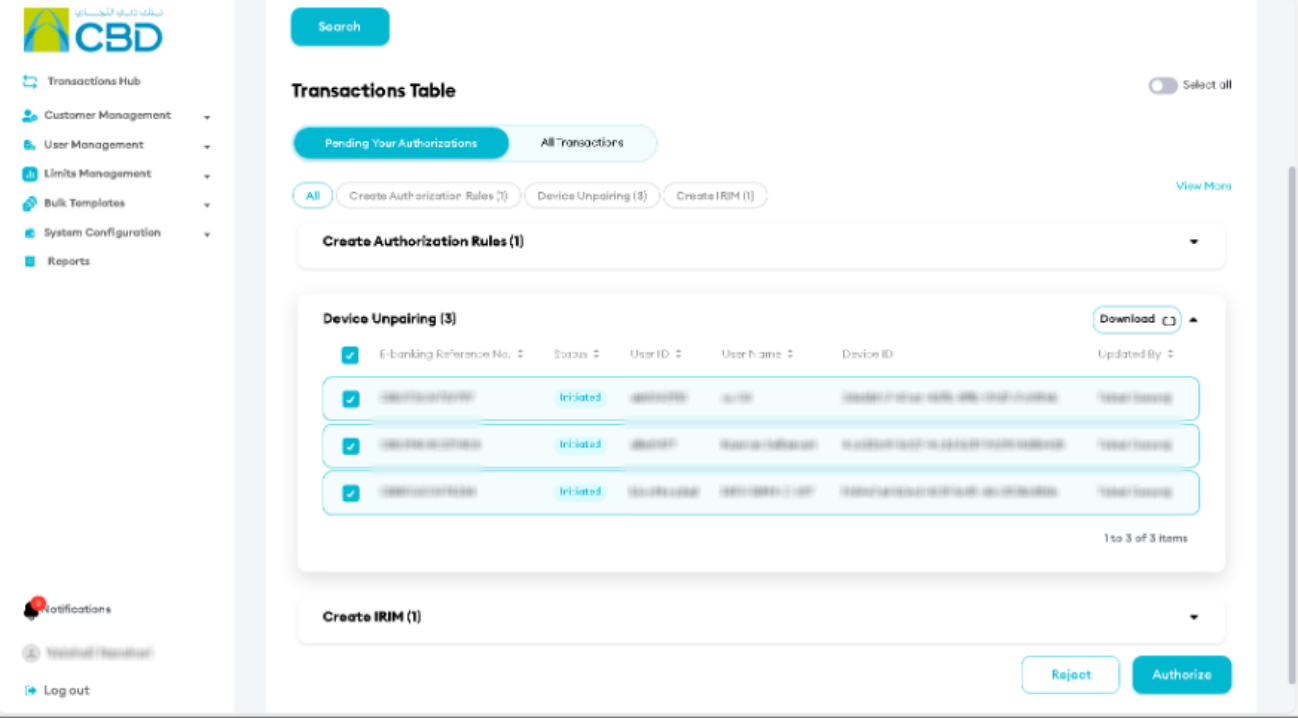
Authorize Multiple Requests
- Select the requests you want to authorise by:
- Checking each request individually
- Using the top checkbox to select all available requests
- Click Authorize
Transaction Review
- Review the selected requests
- Enter a note explaining the reason for approval (optional)
- Click Submit
Authenticate the request
Authenticate the request using one of the following methods:
- iBusiness Mobile App (biometric approval) using Face ID or fingerprint
- Google Authenticator by entering the OTP code
Step 2.2: Reject Requests
Reject a Single Request
- Select the request
- Click Reject

Transaction Review
- Review the details
- Enter a rejection note explaining the reason for rejection
- Click Submit
Authenticate the request
Authenticate the request using one of the following methods:
- iBusiness Mobile App (biometric approval) using Face ID or fingerprint
- Google Authenticator by entering the OTP code

Reject Multiple Requests
- Select the requests you want to reject by:
- Checking each request individually
- Using the top checkbox to select all available requests
- Click Reject
Transaction Review
- Review the selected requests
- Enter a rejection note explaining the reason for rejection
- Click Submit
Authenticate the request
Authenticate the request using one of the following methods:
- iBusiness Mobile App (biometric approval) using Face ID or fingerprint
- Google Authenticator by entering the OTP code

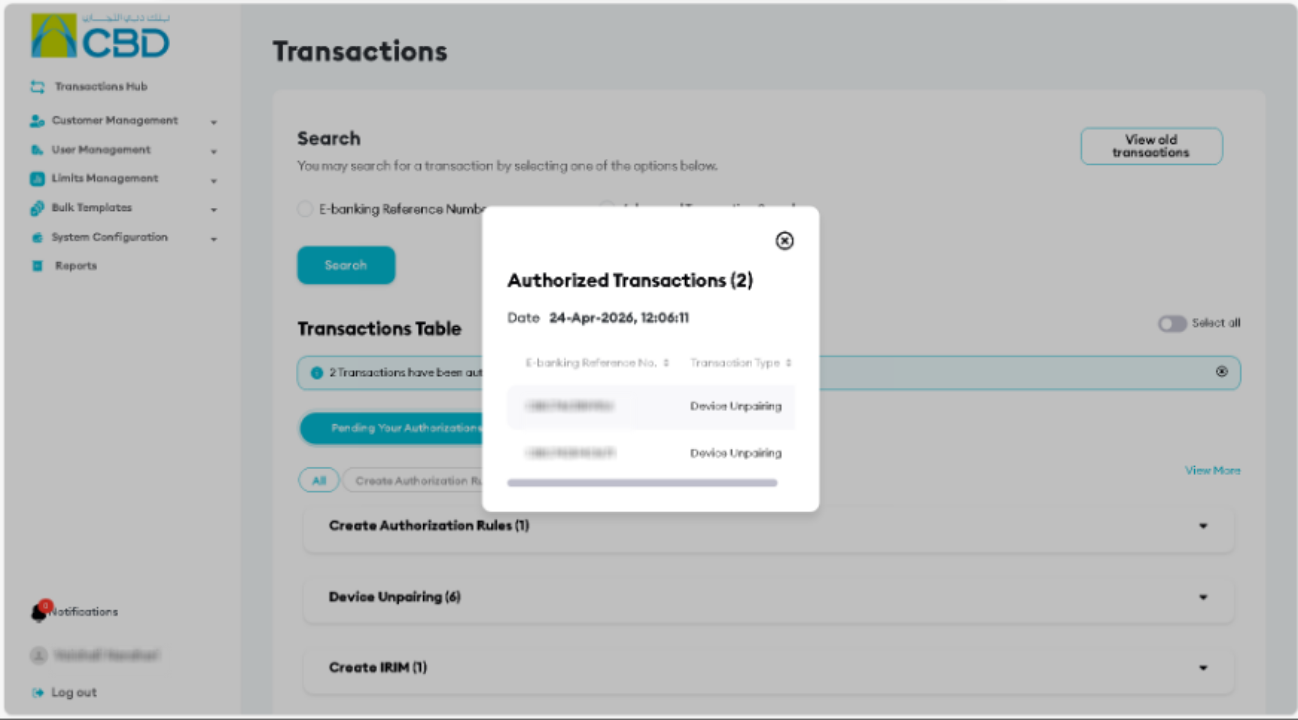
Step 3: View reference number
- Click on view E-Banking Reference Numbers list to view the details
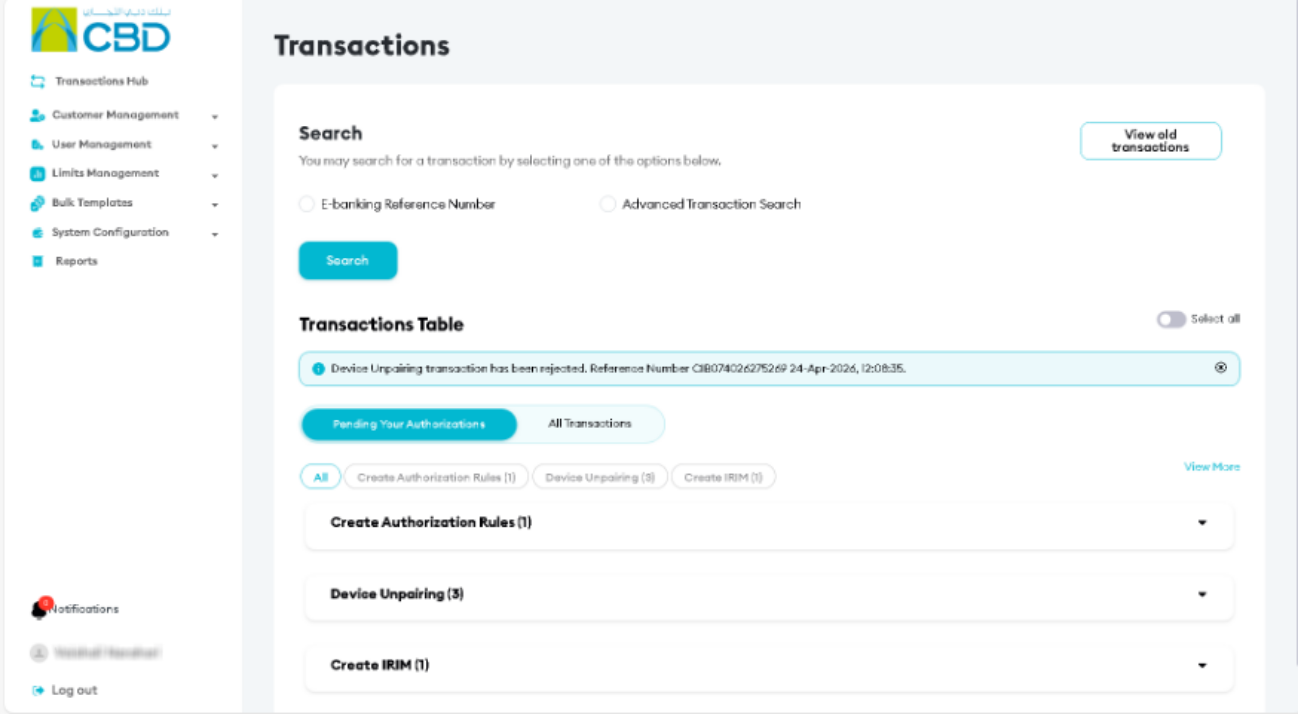
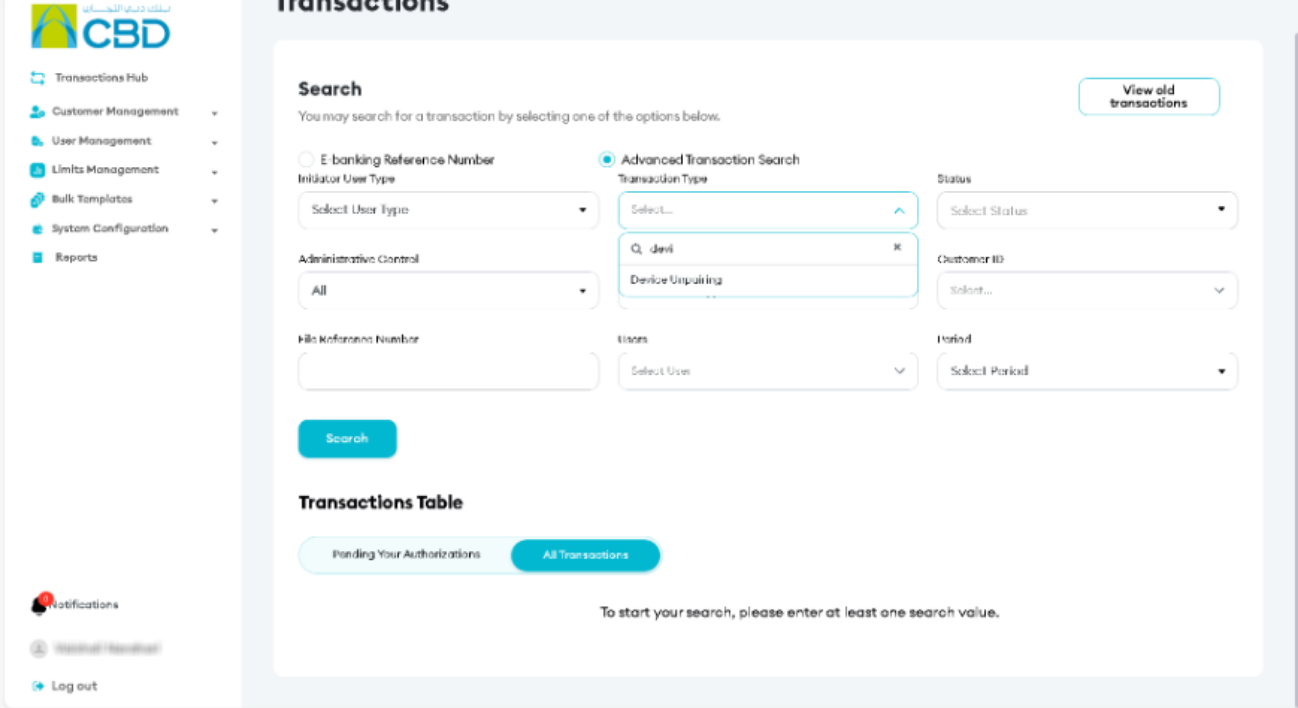
Step 4: Check Request Status
Navigate to the Transactions section
Search using:
- Reference number
- Date
- Created by
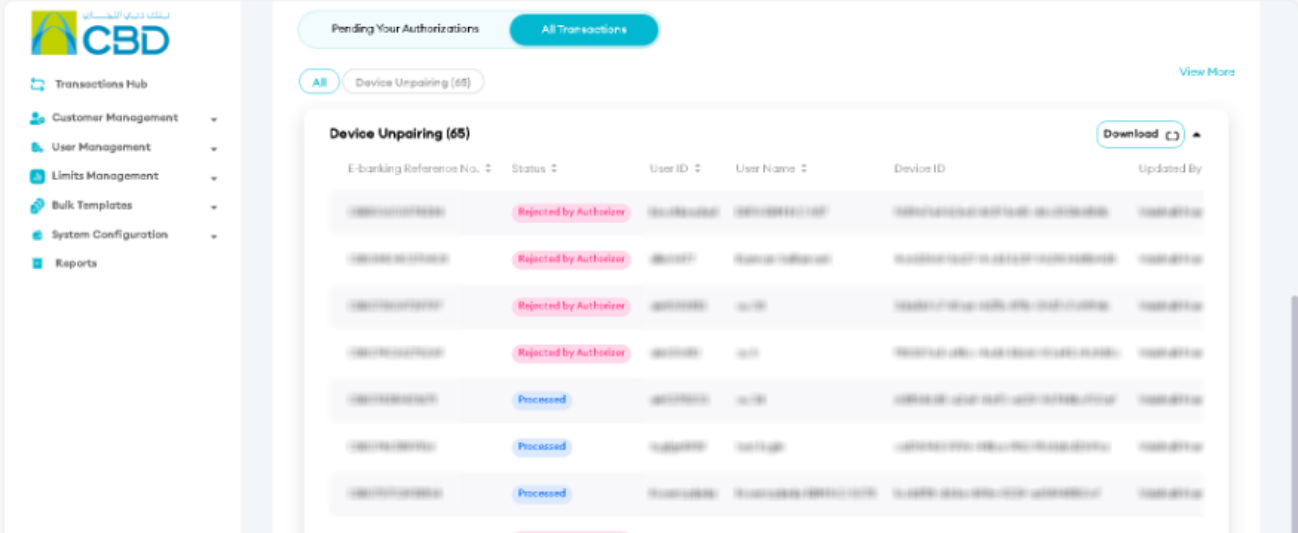
View:
- Request status
- Transaction details
Helpful Tips
- Use the reference number to track requests
- Ensure the correct request is selected before authorizing or rejecting
- Provide clear rejection notes for better audit tracking